Tutorial: Testnet Funding and Faucet
Step-by-step guide to funding your testnet account in the app and understanding testnet behavior.
Prerequisites
- Testnet account (wallet address)
- Access to Hypercall testnet environment
- Understanding of testnet vs production differences
Testnet Environment
Chain ID: 998 (Hyperliquid testnet)
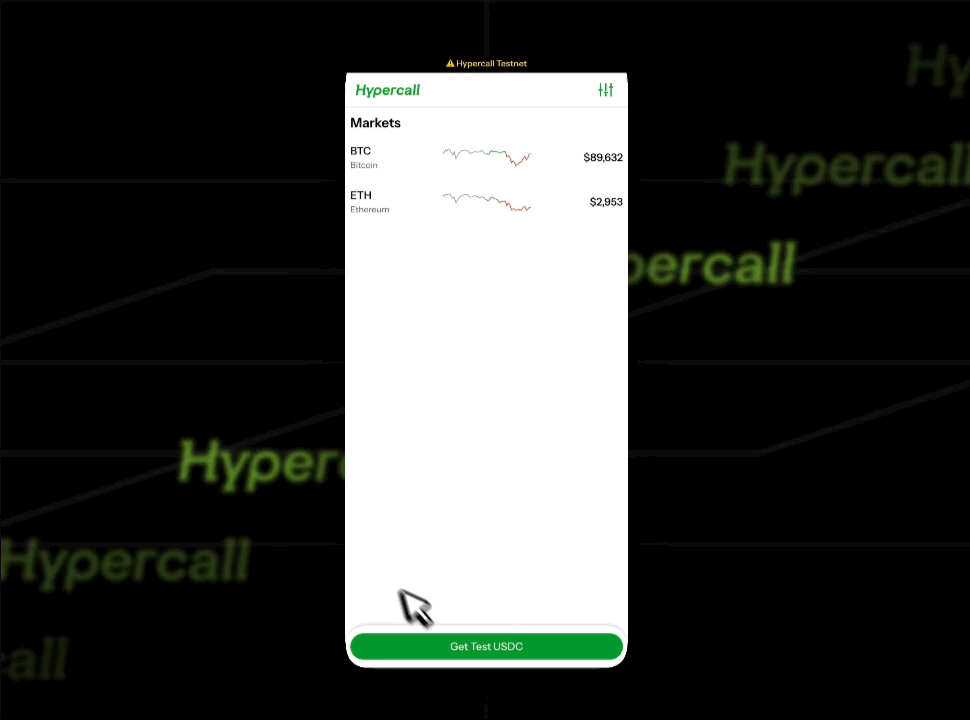
Step 1: Request test tokens
- Tap "Get Test USDH"
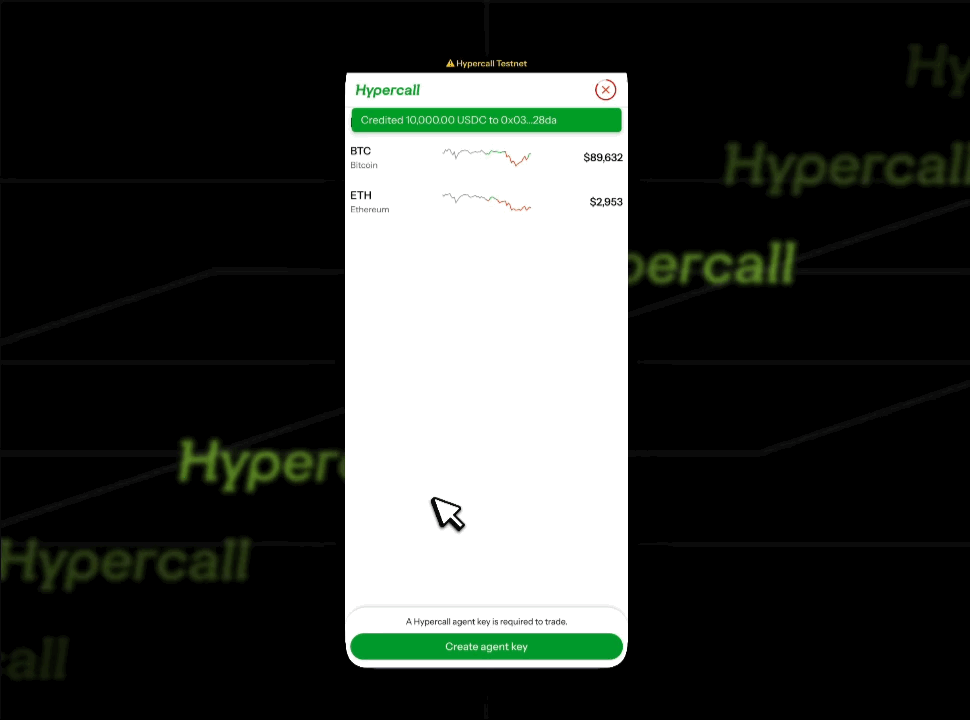
Step 2: Create agent key
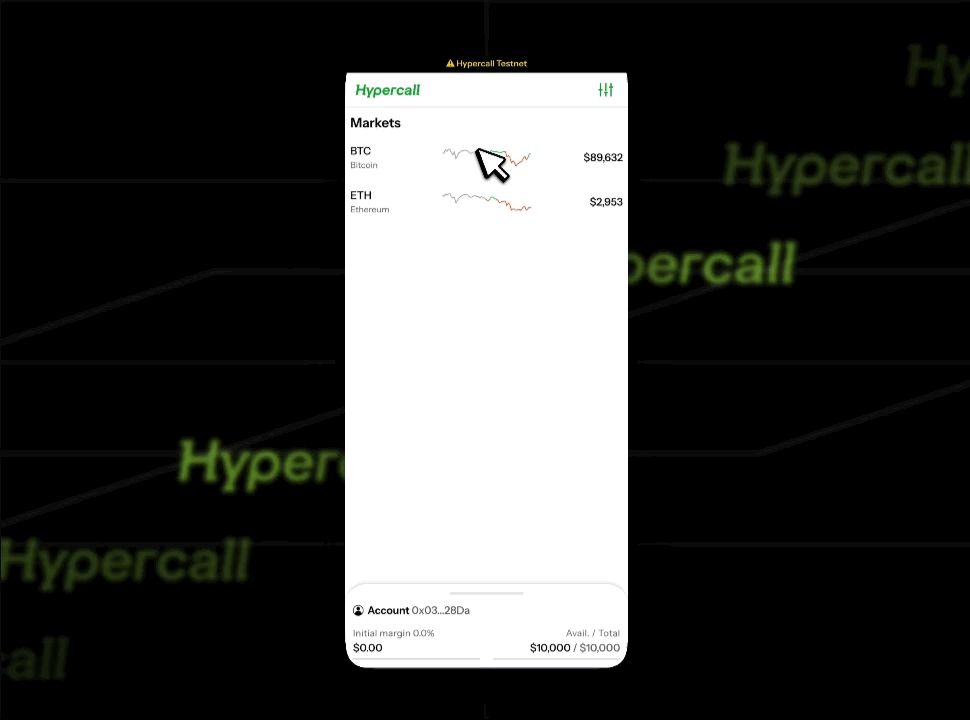
Step 3: Confirm funding & Browse Markets
- Confirm funding by looking at the bottom left corner of the main screen
- Tap underlying to open market pages
Step 4: You're ready to trade
- Place an order (see Tutorial: First Trade)
- Verify the order is accepted
- Check the portfolio after a fill to see updated cash balance
Step 5: Understand testnet limitations
Rate Limiting
Status: Rate limiting is not enforced on testnet.
Recommendation: Self-throttle to avoid abuse (10 to 50 requests per second recommended).
Market Data
Source: Real Hyperliquid spot prices via WebSocket feed.
Behavior: Market data should be accurate, but testnet may have different liquidity than production.
Common Issues
"Account has no funds" on testnet
Cause: Account may not have been created yet, or balance was reset.
Fix:
- Reconnect your wallet in the app
- Reopen the wallet drawer to refresh the balance
- If balance is still zero, check if testnet default behavior changed
"API key required"
Cause: The app prompts for an API key before trading.
Fix: Follow the in-app prompt to create or connect an API key, then return to the wallet drawer.
"API key has no funds"
Cause: The API key is connected but the balance is still zero.
Fix: Complete the faucet flow above and refresh the wallet drawer.
"I want to reset my testnet account"
Use a different wallet address to create a new account.
"How do I get more testnet funds?"
Use the faucet flow above to request more test tokens.
See also
- Trade on App - Trading on the web interface
- Your First Trade - Step-by-step trading guide